Balloon
How to Tie a Balloon: A Fun and Easy Guide for Beginners
How to Tie a Balloon:
Balloons bring joy and festivity to any occasion, whether it’s a birthday party, a baby shower, or proposal decorations. Learning how to tie a balloon properly is a useful skill that will help you to create beautiful decorations. In this helpful guide, we will show you the simple step-by-step process of tying it. Get ready to master the art of balloon and impress everyone with your party decor!

Step 1: Gather Your Supplies
Before you begin, gather all the tools that you’ll need. Make sure you have a bunch of high-quality latex or mylar balloons, a hand pump or an electric pump. (trust us, it makes the process much easier!), and a spool of colorful ribbon or string to add that extra flair.

Step 2: Inflate the Balloon
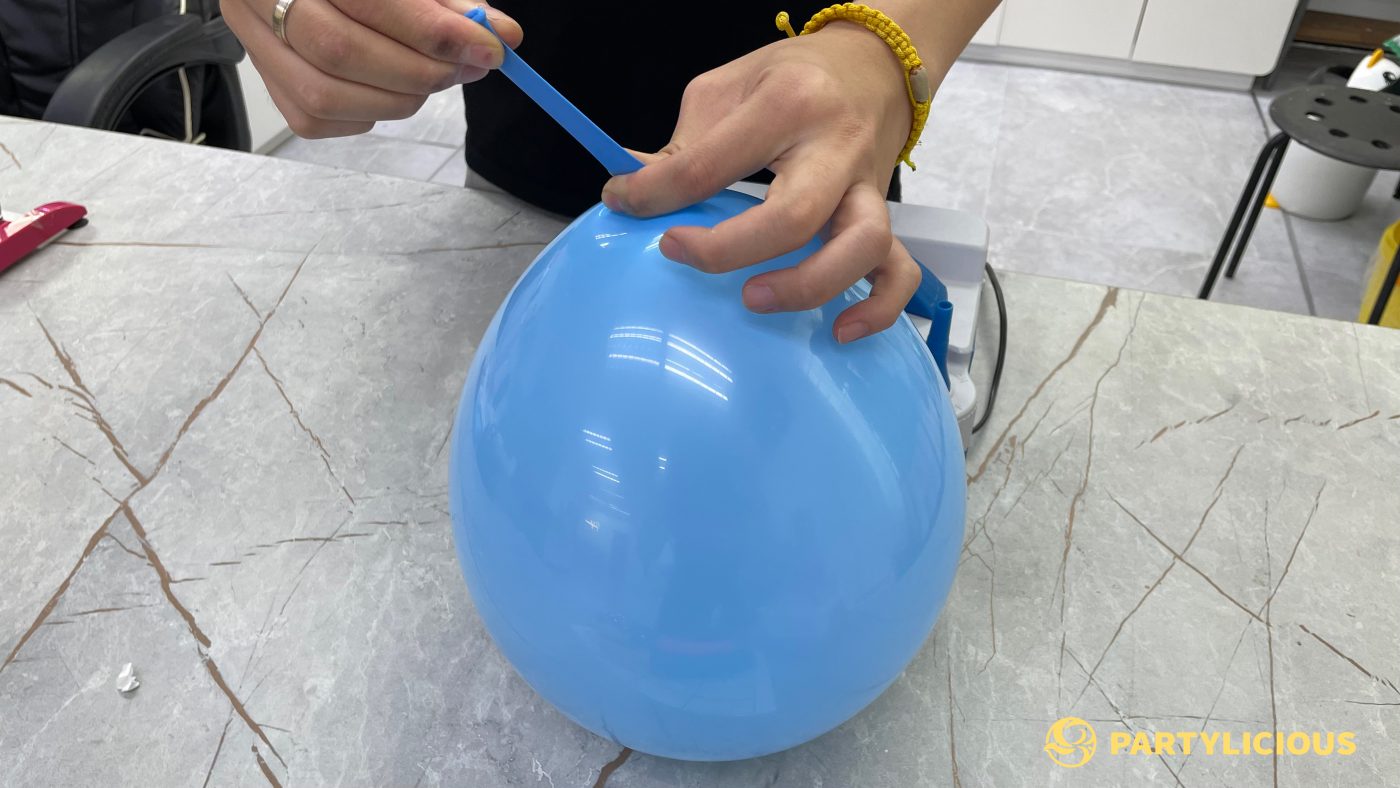
Now here comes the fun part which is inflating the balloon! Take your hand pump or electric pump and carefully fill the balloon with air. Keep in mind not to over pump it, as this can cause the balloon to burst. Leave a little space at the end for tying the knot.

Step 3: Pinch it to prevent air escaping
To prevent any air from escaping while you tie the knot, pinch the inflated balloon near the opening. This will help you maintain the air pressure inside it and give you a bit of extra time.

Step 4: Create a Loop
Using your index and middle fingers, stretch out the neck of the balloon to create a loop. This loop will serve as the foundation for tying the knot. Hold it securely but not too tight, as you’ll need to insert the balloon’s end through it.

Step 5: Insert and Pull
Take the end of the balloon and insert it through the loop you created in the previous step. Make sure the end goes through the loop from the inside, not the outside. Once it’s through, gently pull the end while holding the loop to tighten the knot. You want the knot to be secure, but be careful not to pull too hard and risk popping it.

Step 6: Optional Double Knot
For added peace of mind, you can create a double knot. Simply repeat steps 4 and 5 to make a second loop and insert the end through it. Pull it tight just like before. This step is very helpful if you’re blowing a bigger size balloon or if you want to put them outside.

Step 7: Trim Excess
After securely tied, trim any of the excess length from the balloon’s neck. Use a pair of scissors to snip off the extra bit, making sure not to cut the knot itself by mistake. This step gives your balloon a clean and polished look.

Step 8: Attach Ribbon or String
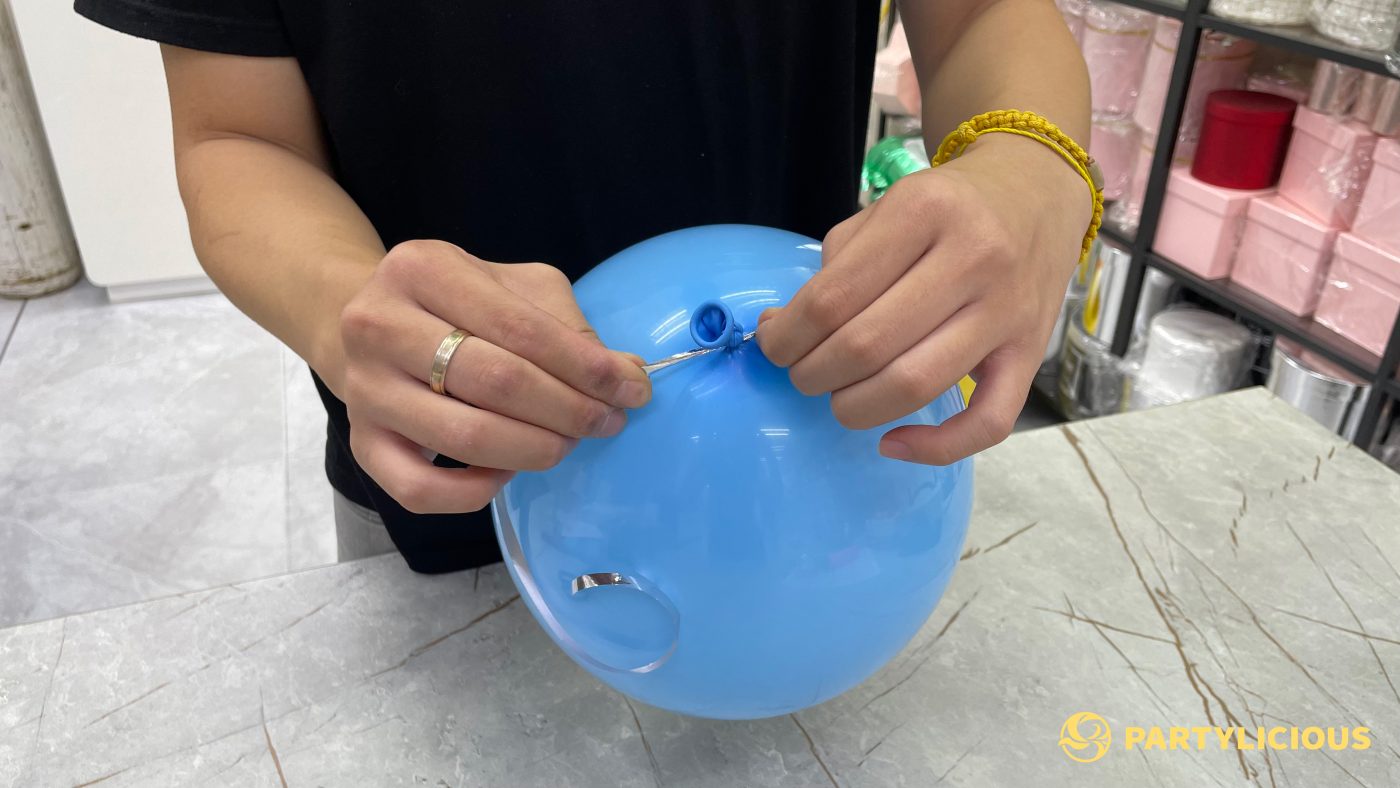
To make your balloon easier to hold or hang, it’s time to attach a ribbon or string. Take a colorful ribbon or string of your choice and tie it securely around the knot. Ensure that you tightly fasten it so that it does not slip off.

Step 9: Repeat and Get Creative
Now that you’ve successfully tied one, it’s time to repeat the process for the rest. Take your time, enjoy the process, and get creative with your designs. Mix and match colors, create balloon bouquets, —the possibilities are endless!
Conclusion
Congratulations! You’re now an expert in tying it! With our easy step-by-step guide, you now have all the information and skills to tie it like a pro!
Don’t forget to gather everything you need. Blow air into the it slowly and carefully. Then, make a loop with the end of the balloon.
Put the loop through and pull it tight to make a secure knot. Now, it’s time to show off your creativity!
Whether you’re throwing a party, decorating an event, or inflating helium balloon you can confidently create stunning decorations. So go ahead, embrace the joy of balloons, and have a blast spreading happiness at your next celebration!
It is also highly recommend that if you looking for hassle free in decorating an event, you may contact us now.
